When thinking of leaving the Philippines to go abroad, the very first thing you have to consider is getting a passport. This government document is your key to visiting the world, and it is also the primary requirement for the Visa application to your desired country. Additionally, the Philippine passport can be used as a primary ID for your identification and transactions.
Whether you’re traveling abroad or getting a valid Government issued ID, the passport is an important government document that you need to have. Fortunately, applying for the passport is easier than ever because you can now finish your application in just a few steps! Read through this guide to know more.
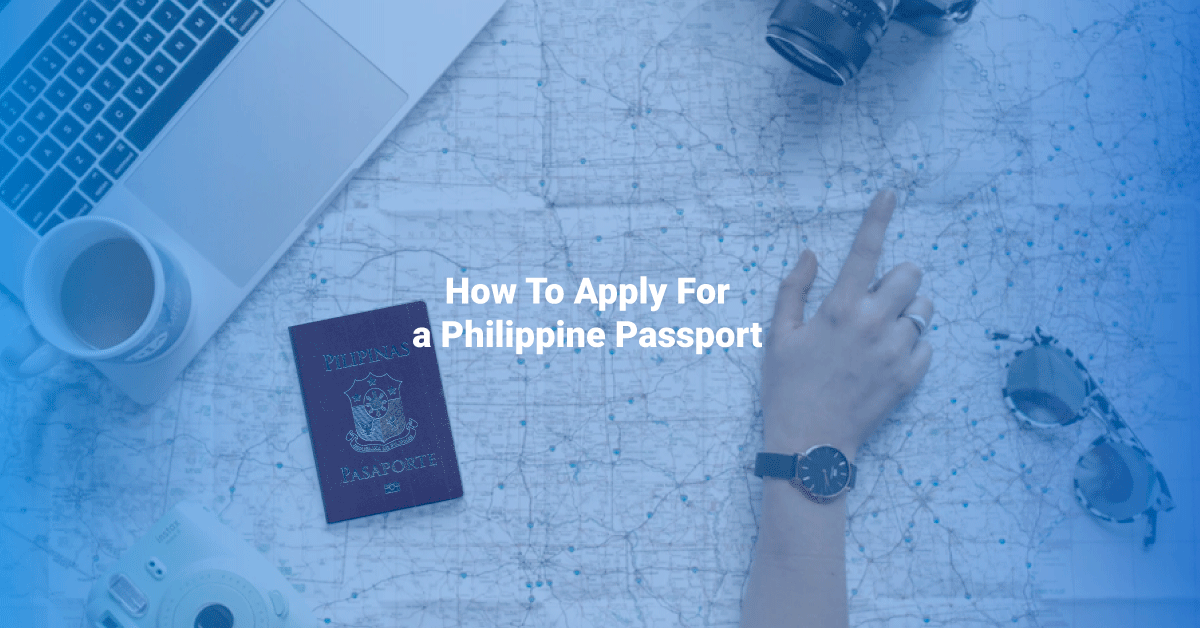
Passport Requirements 2020 in the Philippines
- At least one (1) valid ID + photocopy of the following
- UMID (SSS and GSIS)
- Driver’s License/ Student Permit (in card format)
- PRC ID
- OWWA or iDOLE Card
- PHLPost Postal ID
- Voter’s ID
- Voter’s Certificate (with Dry Seal and signed by Election Officer)
- PNP Firearms License
- Airman License (issued August 2016 onwards)
- School ID (for students or fresh graduates)
- Residence Card (for applicants overseas)
- Original copy of PSA or NSO birth certificate
- Printout of the passport appointment packet
The necessary documents from the appointment packet will be emailed to you after your payment of the passport processing fee through select payment channels.
Passport Application Procedure: 4 Steps
Step 1. Scheduling your passport appointment online
- Visit the DFA passport appointment website. Go to https://www.passport.gov.ph/. Click “Schedule an Appointment” from the top menu bar.
- A new page will appear where you can read the Terms and Conditions. At the bottom of the page, choose “Start Individual Appointment” or “Start Group Appointment” if you’re booking an appointment for your family.
- Complete the different fields required. This includes Site Location, Date and Time, Personal Information, Family Information, Application Information, and Contact Information.
- An “Information Review” page will appear. Once you have double-checked the details you have inputted, answer the CAPTCHA, tick the box, and click “Confirm”.
- Choose your preferred processing type from Regular Processing or Express Processing.
- For Regular Processing (P 950), you can expect your passport after 12 working days. For Express Processing (P 1200), you can expect your passport after 6 working days (for Consular Offices within Metro Manila) or 7 working days (for outside Metro Manila).
- Click “Pay Now”. A pop-up window will appear for some reminders about payment. Tick the “I Agree” box and click “Proceed to Payment”.
Step 2. Paying for your passport processing fee
- After clicking “Proceed to Payment”, you will be redirected to the e-Payment Services portal. This will show the total cost of the passport fee, including a P50 convenience fee. Click “Proceed”.
- Check your email for the Reference Number. Use your Reference Number during your payment through your selected method.
- Choose among the following payment channels to pay for your passport fee.
- Bayad Center
- Pera Hub
- EcPay
- USCC/Western Union
- Villarica Pawnshop
- 7-Eleven
- Robinsons Business Center & Department Stores
- Waltermart Department Store
IMPORTANT: The payment must be done within 48 hours after receiving your Reference Number to avoid cancellation of your appointment. Your appointment is only confirmed once you have paid the processing fee.
- You will receive a new email to confirm your payment. Click the link in the email where you can access your passport appointment packet. This contains the following:
- Checklist with your appointment schedule
- Confirmed application form with bar code, appointment reference number (ARN), and e-Receipt number.
- Two (2) copies of e-Receipt
Step 3. Attending your appointment
- On the day of your appointment date, bring the necessary requirements: at least one (1) valid ID and photocopy, an original copy of your birth certificate, and the passport appointment packet.
- Make sure to arrive 30 minutes to 1 hour before your scheduled appointment time.
- Proceed to the Information Counter or Processing Area to present your documents.
- If everything is in order, you will be redirected to the Encoding Section to have your photo and biometrics taken.
- A DFA personnel will provide you a claim stub or write a date on your official receipt when you can claim your passport at the same DFA office.
- You can also have your passport delivered to you via courier service for an additional fee (P150). Proceed to the Delivery Counter and pay the fee if you want to avail of this service.
Step 4. Claiming your passport
There are two ways you can claim your passport.
- Proceed to the Passport Releasing Section at the DFA office on the indicated date in your claim stub or receipt.
- If you availed of the delivery service, you can wait for your passport to be delivered 1 to 2 weeks after your application.
Traveling the world does not need to be a difficult thing to achieve. At least in terms of the required documents, starting with your passport. With this handy guide, you can now get your new Philippine passport and have the world at your fingertips.